
How to Setup and Use Brother Sewing Machine For Beginners?
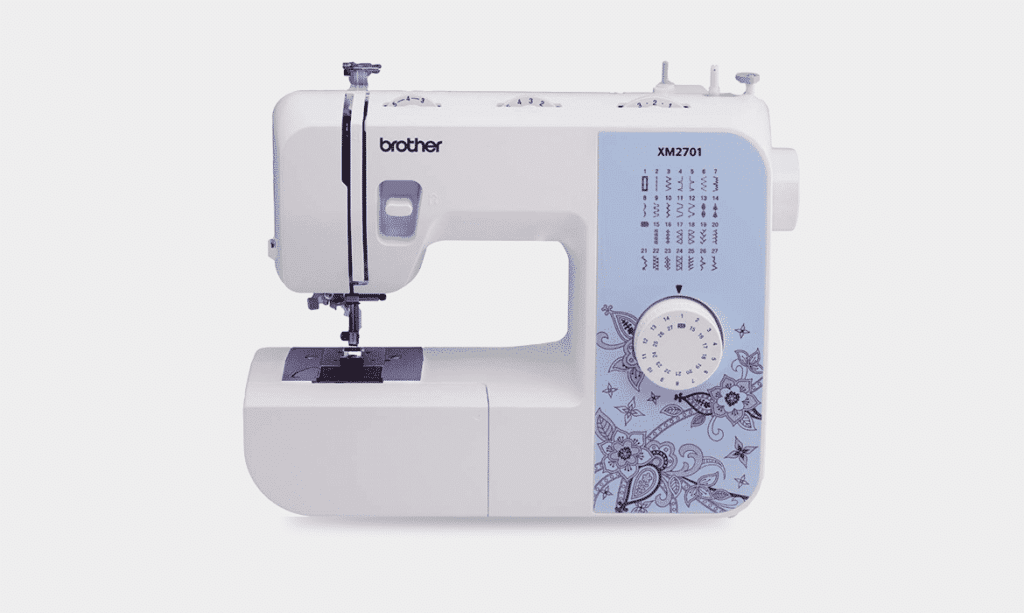
Beginner seamstress will love Brother sewing machines as they are super easy to use! Perhaps you’ve recently gone to your local sewing store and purchased an assortment of lovely fabrics for all the items you intend to sew!

Brother sewing machines are easy to use, which helps many new sewers learn how to stitch. The sewing machine instructions and on-machine graphics demonstrate how to thread the machine, turn it on and start sewing. Moreover, understanding how each component of the machine works will also assist a novice in getting started.
How to Setup Brother Sewing Machine?
Now that you know what features are there on your Brother machine let’s use it.
Foot Control and Power Switch
You will first see a foot control and power switch on your machine. You need to link the foot pedal to the device by connecting the connector on the right face of the unit. A power distribution line will be related to this. It should be plugged into a suitable electrical outlet. Make sure the sewing machine’s power button is turned on. When you turn it on, you’ll see the sewing bulb turn on as well. This will be your green signal that your sewing machine is all set.
Bobbins
Before you begin this step, cut the power of the sewing machine. The Brother create bobbins to fit specific sewing machines, so make sure you have the right one or the one that came originally with the device. On the head of the machine, there is a spool post. Ultimately lengthen it and put a cotton spool over the spool needle.
You’ll find an illustration on your modern Brother sewing machine showing how to feed the spool through the threading guiding slot. Execute the diagram’s directions. Return the cotton to the bobbin and provide it with its upper eyelet.
Place the unfilled bobbin on the bobbin wheel hook and press it to the side of the machine when finished.
Switch on the primary power and firmly push down the foot pedal as pulling the free string from the head of the bobbin.
After you’ve wrapped the thread a couple of rounds, you can let go of the thread you’re handling and resume loading the line into the bobbin. When the bobbin is complete, it will decelerate down and eventually stop. Lift your feet from the pedal on the feet control. Reinstall the bobbin winder nut to its initial place after cutting the thread. Take the bobbin and return the power switch to the off position.
Setting the Lower Thread
Filling the Bobbin
You’ll need to coil part of your threading on a bobbin so that you can start stitching, except you get preset bobbins. Usually, you’ll need to wrap your bobbins anyhow to ensure that your threading matches the colour of the bobbin string precisely!
The user’s manual for Brother machines has informative illustrations. It’s as simple as following the numerical picture.
Your reel of thread should be placed on the spool needle and held in position with the clamp. Next, according to the sequence of the digits allotted in the handbook, loop the string via the three clamps on the head of your devices.
This secures the thread’s free tail to the vertical peg on your device’s upper right side. Insert the open line of the bobbin into any of the openings in the bobbin and across its centre a fair few times.
The bobbin pin will be shifted to the side and locked in position. Rather than stitching, this switches your device to bobbin loading mode.
All you have to do is shove down on the foot pedal for a moment and wait as the machine wraps an all-around thread bobbin and fills it.
Installing the Bobbin
A bobbin that fills either the front or bottom is seen on some machines. Some have a tiny casing with a slot for the bobbin. To properly pack your bobbin with thread, read the directions in the manual’s images.
When you start sewing, make sure you allow just a few centimetres of thread loss. To lift and drop the needle, use manual needle control (typically found on the rear of the machine). It will bring the bobbin string up alongside the needle line, resulting in two free thread tails at the presser foot.
Setting the Upper Thread
You should first put your spools of thread into the spool needle just at the head of your equipment so that you can feed the needle. At the tip of the spindle pin, insert the spool catcher resembling a lid. This prevents the thread spool from floating away as you stitch.
Then pull around ten inches of string and wind it into the threading route using the illustration in the guidebook or the numerals engraved on the machine. In many Brother machines, you’ll coil the thread in the main threading lead, twist it around the tension lever, then put it across the following thread guide.
A thread line is a route that a thread follows between the reel of thread to the needle, as you may recall. Consider this path a winding racecourse featuring specific fuel stations at each of the diagram’s numerical spots. The latches and knobs that provide pressure as you stitch are called tensioners.
The loose end of the thread must dangle right near the needle when you’ve gently winded it around the proper course. At this phase, you have the possibility of manually inserting the thread into the needle (front to rear) or using the automated needle threader feature found on several Brother machines.
This is the most challenging phase of preparing to sew. Almost everything appears simple once you’ve mastered feeding the machine!
Adjust Settings
The other controls on your device enable you to tailor your stitching design and pressure as you stitch.
It would be best if you start with a regular stitch. You can experiment with tension values on the spare cloth to see how it goes when altering specific settings.
How to Use Brother Sewing Machine?
After you’ve arranged the equipment, you may begin stitching! Let’s look at a short rundown of how to use your Brother’s sewing machine.
Finally, you may use the sewing machine to sew both complicated and straightforward items. A primary task is an excellent place to start if you’re just getting started. Sewing a circular gown, a cushion, or square drape panels all have a lot of regular stitches and will show you how your machine works.
How Does Brother Sewing Machine Work?
Sewing machines have a lot of mechanical components and knowing how they all function will allow you to set them up properly.
This is simply a quick rundown of checking for when purchasing the best machine. If you want to learn more about any of these areas, look through your user’s guide, visit the company’s site, or watch a tutorial that shows details.
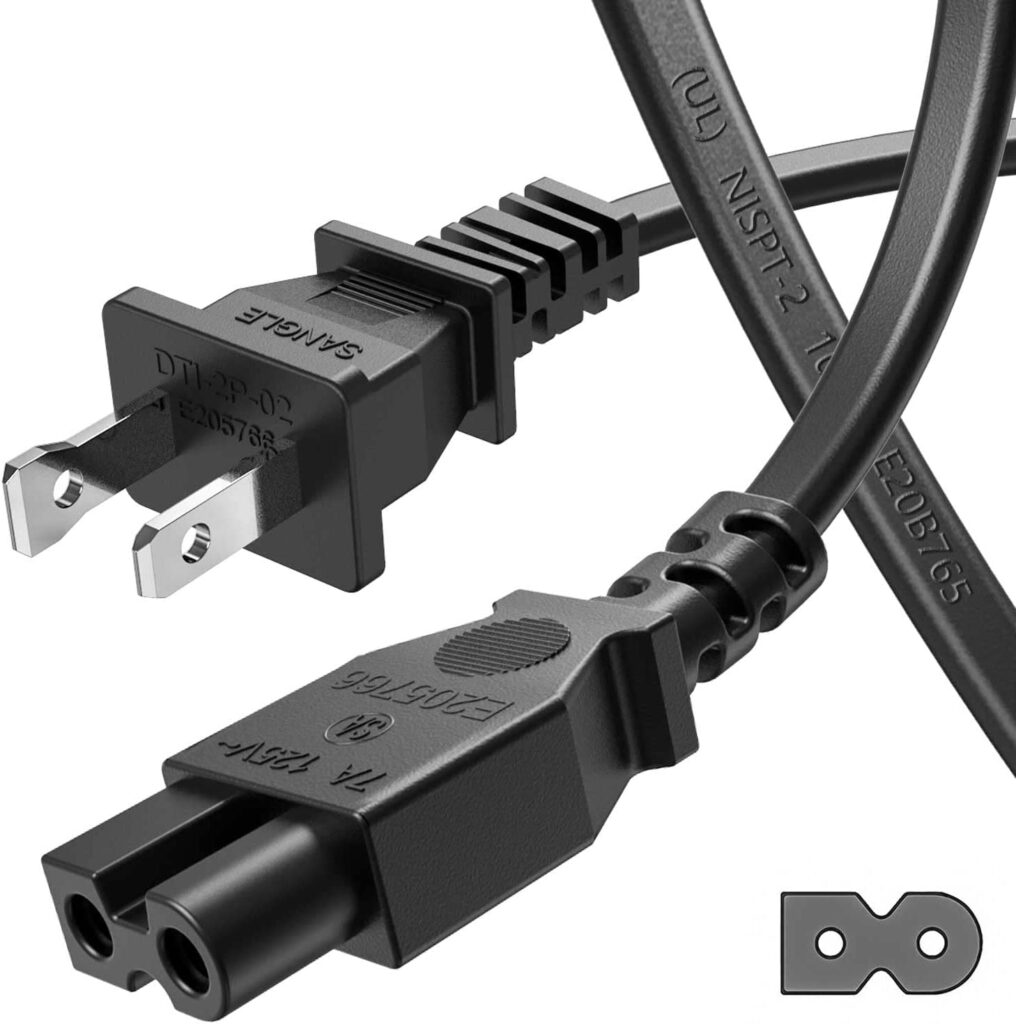
Power Cord
Of course, you need a power source before using your rother machines. However, while working on the sewing, please be cautious as you need to turn it off while working on its components.
Pedal
A foot-treadle was used to operate many of the first sewing machines manufactured. Many current sewing machines now spin in the motion of the foot pedal, which functions similarly to the accelerator pedal in a vehicle. When you push the lever, the device gets going!
Your pedal will be connected to a cable that must be linked into the device, typically close to the main supply.

Thread Path
The thread traverses a threading pattern from the threaded pin and the needle. The thread path on each sewing machine type is slightly variable. The incredible thing is that it’s usually plainly labelled on the machine, and your instructions must also explain it thoroughly.
Your machine applies tension to keep both the threads and the cloth stiff while it works. This keeps the lines from tangling or creating sloppy stitches as you stitch.

Needle
On your current BROTHER machine, you’ll have no trouble finding the needle. The thread is placed into the upper tip of the needle after it has traversed along the thread route out from the spindle. Sewing machines have a needle with its ocular on the sharp end, which lets it push the string past the cloth quickly and frequently before passing around the entire needle.
Self-threading instruments are available on some Brother machines. If yours doesn’t have this feature, knowing how to insert the thread swiftly will come in handy in the future.

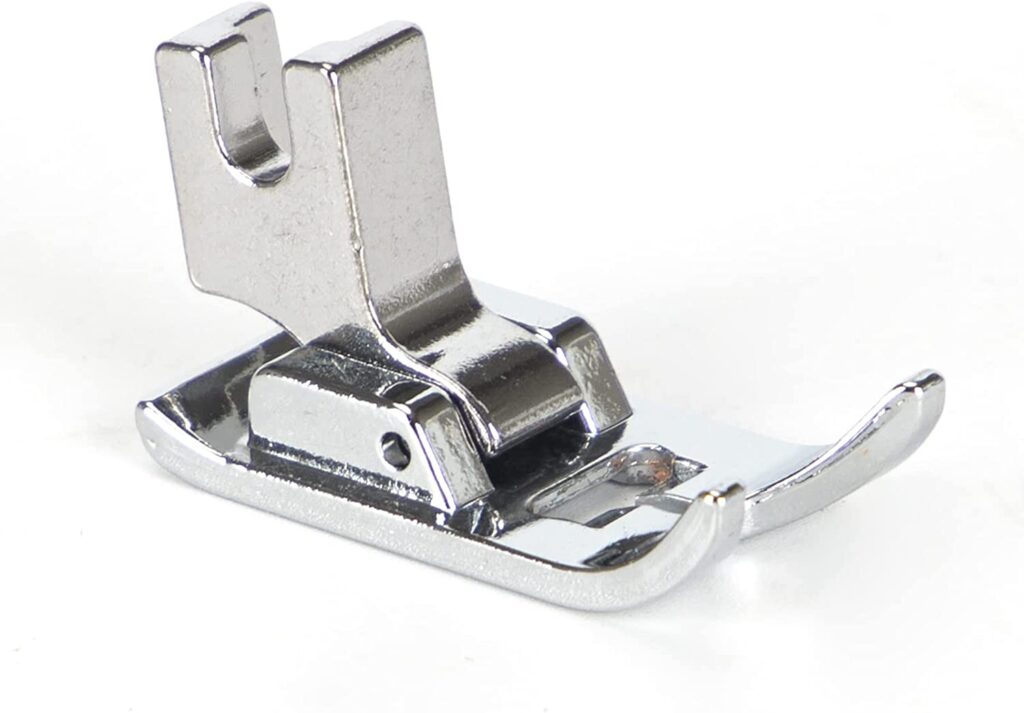
Presser Foot
A presser foot resembles a tiny, flat foot! It places pressure on the cloth while sewing to keep it in position for the needle.
Bobbin
A bobbin is a tiny roller that acts as an extra thread for the bottom stitching.
The bobbin line captures the thread as the needles press downward, forcing it into the cloth from up top, and retains it underneath the fabric as the needle pulls back, and the final results in stitches!

Tension
The thread pressure controls your unit; before getting into too deep an explanation, let you prevent the stiffness of the stitching. Various tensions are appropriate for distinct types of fabrics.

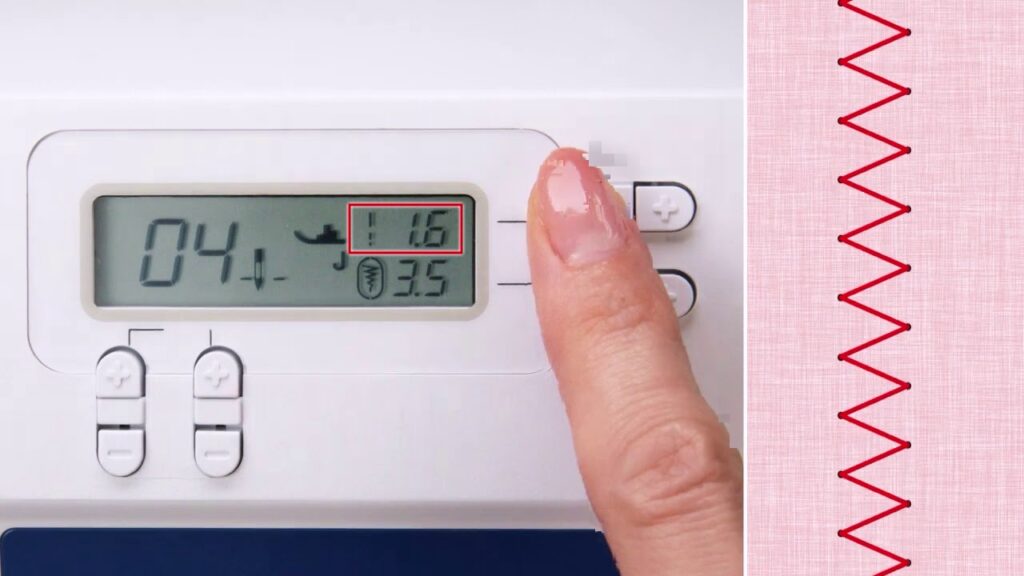
Stitch Settings
Your modern sewing machine can sew a variety of patterns! There are zigzag patterns, buttonhole sutures, and even beautiful embellishments such as leaves and flowers among the sewing designs. The stitch configuration knobs can be used to instruct your machine about which patterns to produce.
Reverse Button
The reversing lever is usually found on the casing just over the needle on typical sewing machines. Upon that, there is typically a representation of an arrowhead circling down to move reverse. This “backstitch” feature allows you to wrap over your project, avoiding tearing in the long run.

The Takeaway?
You’ve now finished setting up your machine, learning how to thread a bobbin, and incorporating the upper and bottom thread, respectively, and you’re ready to stitch. You’ve discovered how to configure the machine for regular sewing. It would be best to practice that for a long time before trying out other patterns.
Always keep safety in observance when working with the needle and spool, and make sure to switch off the electricity while changing things.